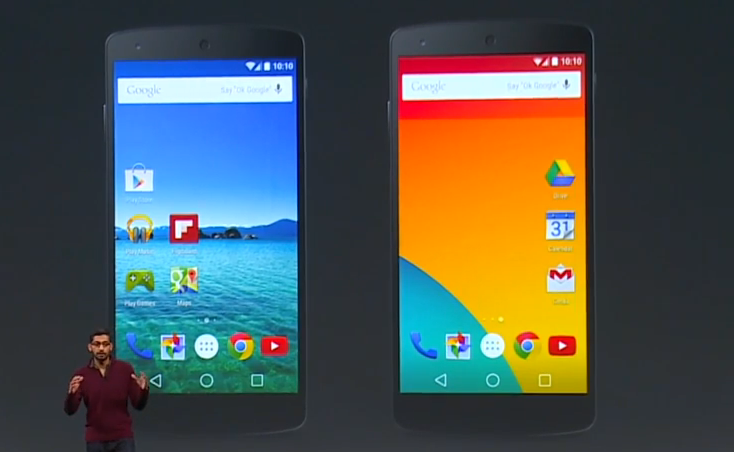
Google recently announced the latest version of Android L at Google I/O event in San Fransisco with some cool features. According to Google Android head, it is one of the major upgrade to Android OS so far. Google has now officially released the Android L developer preview for Nexus 5 and Nexus 7 (2013) users to test the beta version. If you own any of these device, follow the step-by-step guide and be the first to use the cool features of Android L. Don’t worry if you’re not Nexus 7 or Nexus 5 users, We’ve got another treat for you, the xda developer has ported the official Android L stock apps for android devices so that you can taste the latest cool features.
Proceed at your own risk. If you don’t know what you’re exactly doing then it is not for you!!
Guidelines and Requirements:
- This guide is only for Nexus 5 and Nexus 7 (2013).
- Download the Android L developer preview factory image for NEXUS 5 – or NEXUS 7 (2013).
- Create full backup of your data as this process will wipe and erase everything stored on your phone.
- Install USB drivers on your PC.
- Also make sure to Setup the ADB/Fastboot on your PC. Here is how to setup.
- Go to Settings > Developer options and enable USB debugging.
- Before the installation process, make sure to check the battery status.
- If you’ve fulfilled the requirements, let’s move on to install the Android L developer preview on Nexus 5 and Nexus 7.
Install the Android L Developer Preview on Nexus 5/Nexus 7 (2013)
These are the exact step-by-step procedure in order to install the Android L developer preview. If you’re well prepared, let move on and get started.
- I assume that you’ve successfully setup the adb and fastboot on your PC.
- Unzip the factory image to a new folder on your desktop.
- Navigate to the folder where you’ve unzipped the factory image. Hold the Shift key and select the option Open command window here.
- Connect your phone to PC via the USB cable.
- Now reboot your phone into bootloader mode by typing the following command:
adb reboot bootloader
- Now to run the installation script, type this command:
flash-all- Give it a minute and it should installed in a while.
- Cheers!! You’ve successfully installed the Android L Developer Preview.
Do not forget to let us know and share your experience in the comment section below. For more step-by-step guides keep visiting.

