These days Sony’s new flagship device Sony Xperia Z1 (Also known as Honami), is without any doubt is one of the most powerful Android devices, with some outstanding specifications like, 20.7 Mega Pixel Camera. It was officially released by Sony Inc, on the 4th of September.
If you’re one of those lucky, who owned this amazing Sony Smartphone, then probably you’d like to unlock its potential by Rooting it, Installing Custom Recovery and ROM’s. Thanks to the XDA Developer, Who with his outstanding efforts very early released a quick root method for the Sony Xperia Z1. If you’ve makeup your mind to Root Xperia Z1, then follow the instructions down below, in order to successfully root Sony device.
Guidelines and Prerequisites
1. You should know, Rooting will void your device warranty.
2. This guide is only for Sony Xperia Z1, Therefore, do not try this on any other device.
3. The software we’ll be using is in Chinese language, But the developer has said, they’ll soon the English version of the application very soon.
4. Enable USB Debugging on your Sony Xperia Z1, by going to Settings > More > Applications > Development Options > USB debugging.
5. Make sure you’ve installed USB Drivers on your PC. If not, then you can download it from the download section, given below.
6. Also, it is recommended to have at least 60% Battery Charge on your Xperia Z1.
7. Another important point, Backup your data, before you proceed to Root Xperia Z1.
8. Last but not the least, You’re doing this at your own risk.
Download:
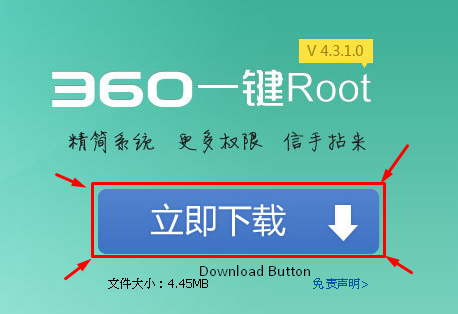
1. Click Here to Download Root Package for Sony Xperia Z1.
2. Click Here to Download Sony Xperia Z1 USB Drivers for PC.
How to Root Sony Xperia Z1 Running Android 4.2 Jelly Bean
1. First of all run the 360RootSetup.exe on your PC. During this you may be prompted to close adb.exe, so do as you’re told.
2. After then Connect your Sony Xperia Z1, to the PC using the data cable.
3. Now again run the 360Root Application.
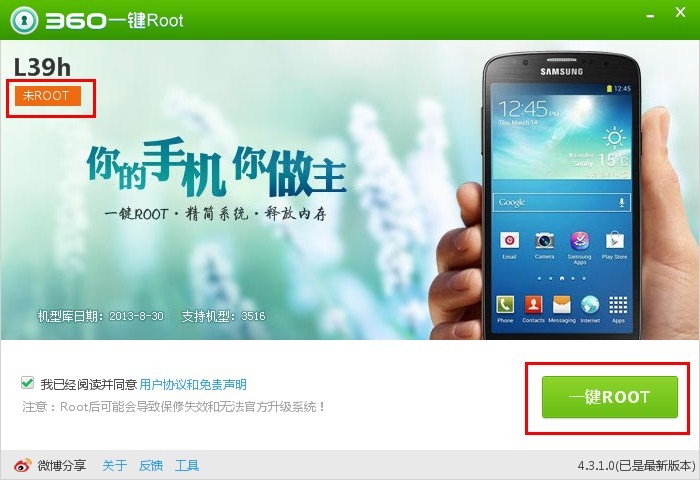
4. At the top left corner, you’ll see your device model and below it Root will be written (But your device is still not rooted). Just hit the Green Root button at the bottom as shown in the below image.
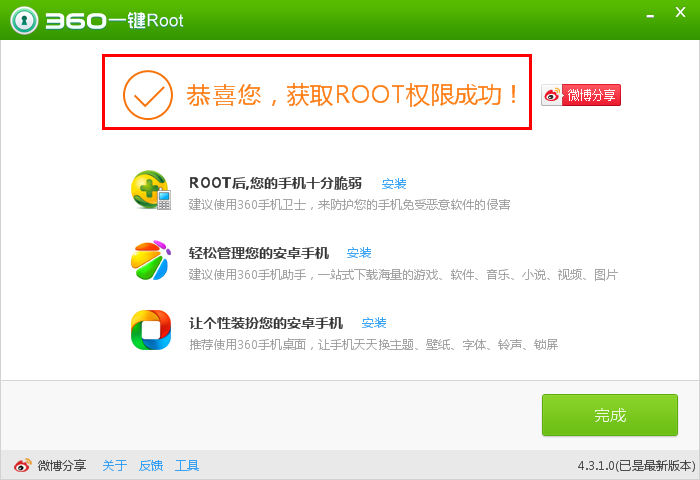
5. When the Rooting process for Xperia Z1 finishes, it will give a congratulations message in Chinese.
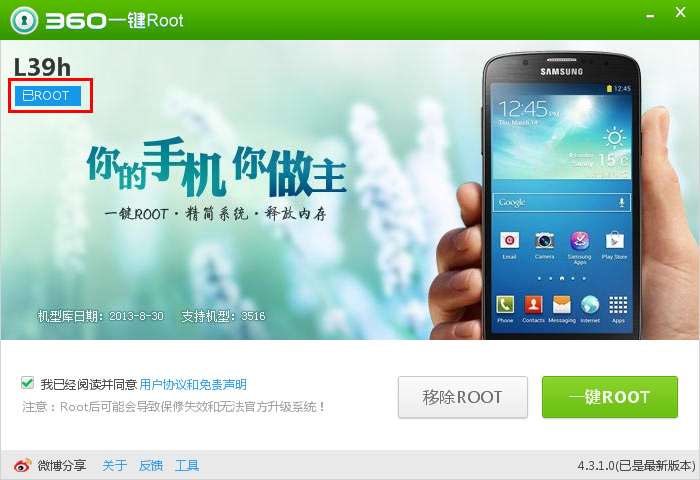
6. Now to get the Root Permissions, just click the green button at the right bottom. After then you should see the Root highlighted in Blue at the top-left corner of the application, as shown in the below image;
Now to make sure you have successfully rooted Sony Xperia Z1, go to Google Play Store and Download the simple app called, ‘Root Checker’ and install it verify root access on Xperia Z1. A bit weird guide (in Chinese), but then hopefully you’ve learned, How to Root Sony Xperia Z1 running on android 4.2 Jelly Bean Firmware.
At the end, I tried my best, to make everything as simple as possible, After then, if you do have queries or confused at any step, do let us know in the comment section. You can also follow the official thread at XDA Developers Community.
