This Rooting guide is for Samsung Galaxy Tab 3 10.1 model number GT-P5200 running on Android 4.2.2 Jelly Bean. Before you root your tablet, it is recommended that you first read guidelines and requirements section in order to safely gain root access. In this guide, we’ll first flash the custom recovery and then using the recovery we will flash the SuperSU which ultimately grants root permissions on your device. So let’s move on and get started.
Guidelines and Requirements:
- Samsung Galaxy Tab 3 10.1 GT-P5200 (3G+WiFi). Do not try it on another variant it may brick your device.
- Custom Recovery: TWRP recovery
- Odin3 v3.07 download here
- USB drivers or Samsung Kies must be installed on your PC.
- Go to Settings > Developers Options and enable USB Debugging.
- Check that you’ve got enough battery charge on your tablet.
- Last but not the least, carefully read the read and follow the instructions and do not skip any step.
How to Flash TWRP Recovery on Galaxy Tab 3 10.1
As I said earlier, We will first flash the Custom Recovery on Galaxy Tab 3 10.1.
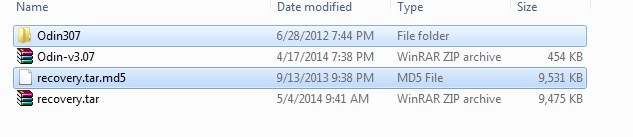
Step 1: Extract the download files to a new folder:
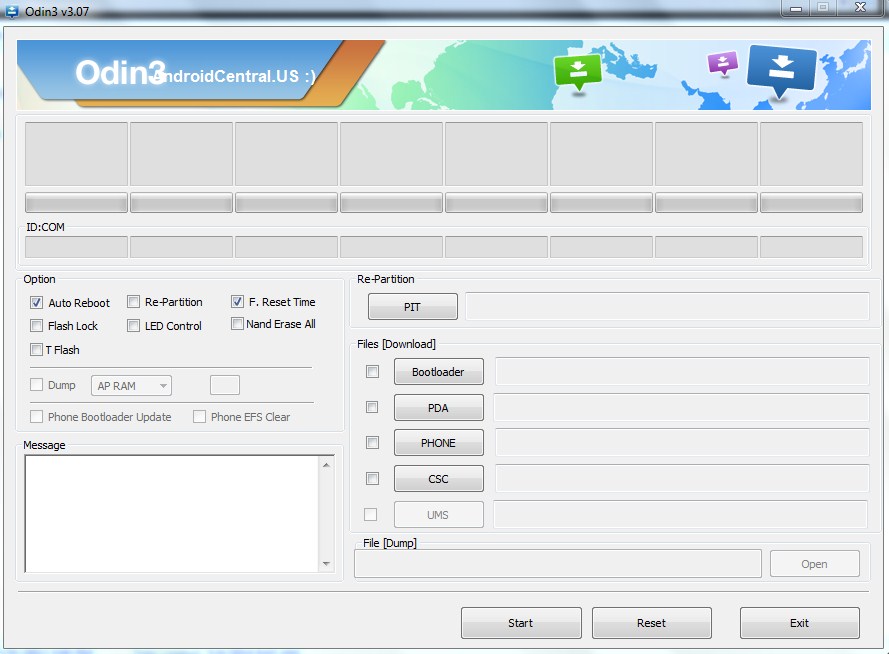
Step 2: Run Odin3 v3.07 to flash the recovery:
Step 3: Reboot your Galaxy Tab 3 10.1 into Download Mode, Hold down the Volume Down+Home+Power, simultaneously for a few seconds and wait for the warning message to appear on the screen. Further hit the Volume Up to continue.
Step 4: Connect your tablet via the USB cable to the PC. Check that Odin detects your device.
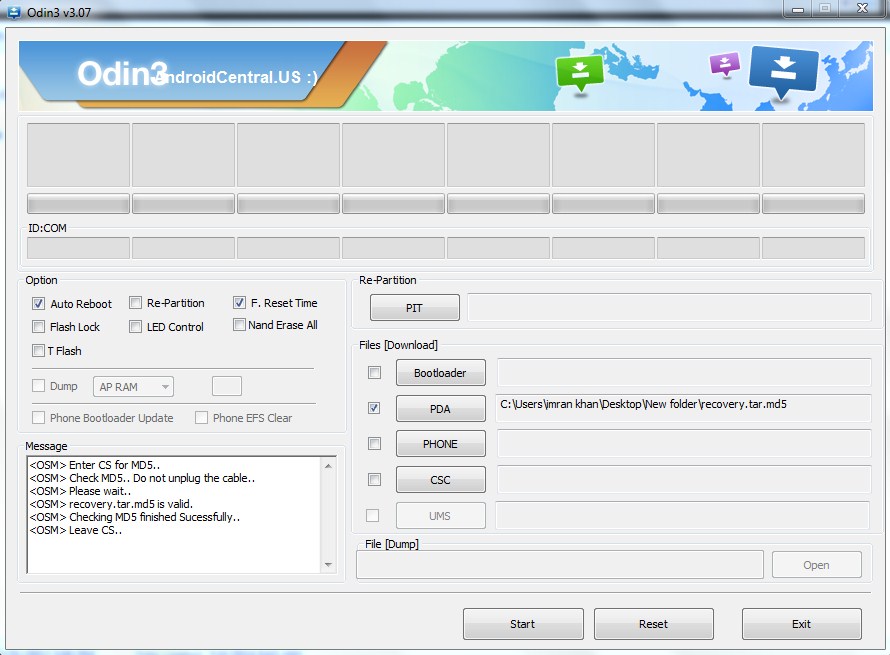
Step 5: Hit the PDA button and select the recovery.tar.md5, from the extracted folder.
Step 6: Wait for Odin to verify the tar.md5 recovery file and then hit the START button:
Finally within a few seconds it will flash the TWRP recovery on your tablet. Once done, Odin3 will give PASS!! message with green signal and during this your tablet will automatically reboots.
How to Root Samsung Galaxy Tab 3 10.1 GT-P5200
Now when you’ve flushed the twrp recovery, now its time to get rooted.
Step 1: First Download UPDATE-SuperSU-v1.91.zip and without extracting Copy it to your SDcard.
Step 2: Now Reboot your tablet into TWRP Recovery mode, Hold the Volume Up+Home+Power for a while till you the options on your screen.
Step 3: Tap on the Install button and navigate to the folder where you’ve placed the SUperSU zip file.
Step 4: Select it and swipe to confirm and flash it.
Step 5: When done, reboot your tablet via the recovery option.
Now when your phone reboots, check that SuperSU has been installed, which confirms you’ve now successfully installed Custom Recovery as well as gain root access.
That’s it folks! It was all you needed to know and learn in order to root galaxy tab 3 10.1. Feel free to ask for further support, if you’re having issues with the rooting process. Kindly leave a good feedback as well, if this post has benefited you in anyway and it would be a good idea to share it with your friends.

I tried with root genius and root master, both was unsuccessful. after two days strugggling with my GT-P5200 i found this website and the method you described above worked like a charm except super SU was not installing, but after updating super su from playstore, it was successfully installed and rooted. i’m so glad i found this website and thank you so much.
Glad it worked for you and Thank you for the nice feedback.
SuperSU says that it does not detect any binary system and can not install it. What do I need to do PLEASE HELP
su didnt install
Root went good.. but I can’t find any SU icon…. (second time I rooted the tablet, Kies flashed an emergency firmware after trying to upgrade)Should I repeat the process from the twrp console?