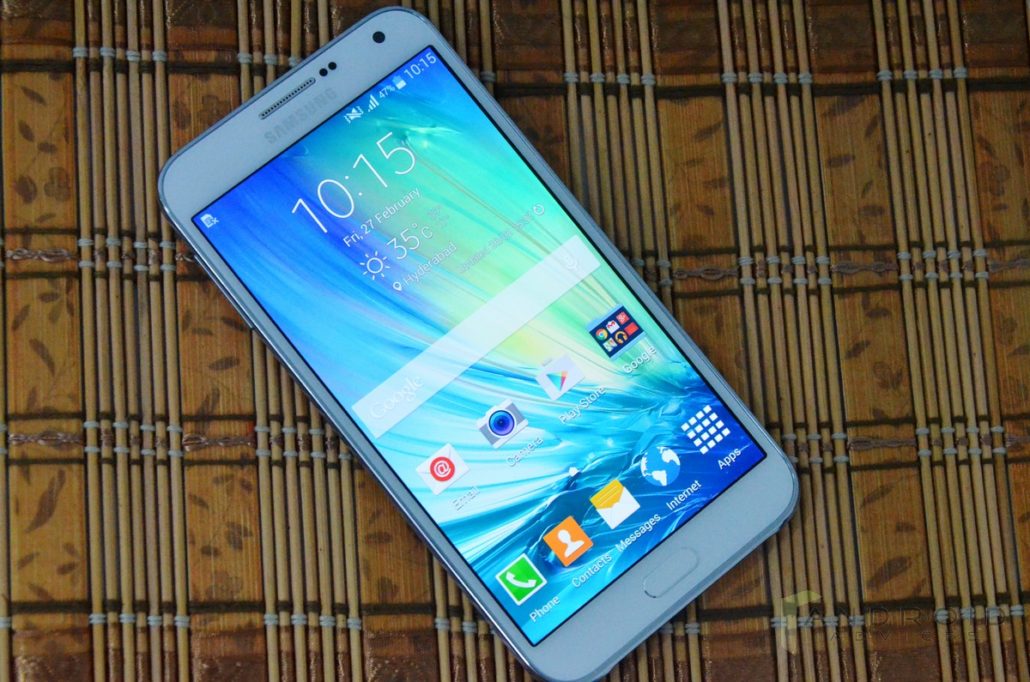
Samsung Galaxy E7 a mid-range phablet which arrived last year running Android 4.4.4 Kitkat. Samsung has recently released Android 5.1.1 update which glad the users of Samsung Galaxy E7 and if you’re still running on Android 4.4.4 here is How to Update Samsung Galaxy E7 to Stock Android 5.1.1. So if you’re already updated then you might need to gain root access. So follow the complete step by step guide to root Samsung Galaxy E7 (E700H) running Android 5.1.1. As like always we’ll be using the most comfortable and secure Chainfire’s CF-Autoroot method to gain root access.
Requirements and Prerequisites:
- This guide only works on Samsung Galaxy E7 (E700H).
- You should backup all your important data.
- Download the CF-Root .zip package for Samsung Galaxy E7.
- Download Odin3 for Windows and jOdin3 for Mac.
- Don’t forget to install Samsung USB Drivers on your PC.
- Enable USB debugging by taping on Settings>Developers Options and Enable USB debugging.
- Your device must be charged, At-least 50% is recommended.
Root Galaxy E7 (E700H) Running Android 5.1.1 Lollipop
Step 1: First of all you need to extract the download CF-Root package.
Step 2: Turn off your phone and Reboot it into Download Mode, Press and hold down the Volume Down+Home+Power buttons simultaneously till you see a warning on your screen. Further hit the Volume Up button to continue.
Step 3: Run Odin3 from the unzipped folder.
Step 4: While in download mode connect your Galaxy E7 (E700H) to PC via the USB cable. At this stage, make sure that Odin has recognized your device. If not reinstall the drivers and try again. Once detected, you’ll notice the Added!! in the message section.
Step 5: Only check Auto Reboot and F. Reset Time options and rest leave the default settings in Odin.
Step 6: At last you’re one step away to root your phone. Click the PDA button and select the CF-Rooted kernel tar.md5 file from the folder you’ve earlier unzipped. Further hit the START button to flash the CF-Root on Galaxy E7 (E700H).
Step 7: Wait for Odin to complete the flashing process, once it is done, it will notify you via the PASS!! message in Odin screen and at this point your phone will automatically reboots.
Step 8: When your phone boots normally, Open the app drawer and see that SuperSU has been installed. To verify root access, Open Google Play Store app on your phone and install “Root Checker“. Once installed run to make sure your phone is rooted.
Congratulations!! You now have successfully Rooted Samsung Galaxy E7 (E700H). You’ve now full root access, you can install apps from Google Play Store which requires root access, flash custom recovery and you can also try Custom ROMs and Mods.

